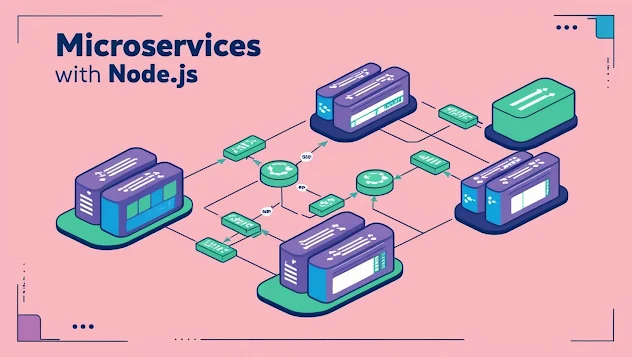
Microservices is an architectural style where applications are structured as a collection of loosely coupled services. This tutorial will guide you through building a simple microservices architecture using Node.js, Express, and Docker.
Prerequisites
Before starting, ensure you have the following installed:
- Node.js (latest LTS version)
- Docker (for containerization)
- Postman (for API testing)
- MongoDB or PostgreSQL (depending on database choice)
Step 1: Understanding Microservices
Microservices allow applications to be divided into smaller, independent services that communicate with each other over HTTP, messaging queues, or other protocols. Each service has its own database and business logic.
Step 2: Setting Up Services
We'll create two microservices:
- User Service (Handles user authentication and profile management)
- Product Service (Handles product-related operations)
Creating the User Service
1. Initialize a Node.js project:
mkdir user-service && cd user-service
npm init -y
2. Install dependencies:
npm install express mongoose dotenv cors3. Set up Express server:
Create server.js:
require("dotenv").config();
const express = require("express");
const mongoose = require("mongoose");
const app = express();
app.use(express.json());

mongoose.connect(process.env.MONGO_URI, {
  useNewUrlParser: true,
  useUnifiedTopology: true,
}).then(() => console.log("User Service DB Connected"));

app.listen(5000, () => console.log("User Service running on port 5000"));
4. Define User Model and API Routes
Create models/User.js:
const mongoose = require("mongoose");
const UserSchema = new mongoose.Schema({
  name: String,
  email: String,
  password: String,
});
module.exports = mongoose.model("User", UserSchema);
Create routes/user.js:
const express = require("express");
const router = express.Router();
const User = require("../models/User");

router.post("/register", async (req, res) => {
  const user = new User(req.body);
  await user.save();
  res.send(user);
});

module.exports = router;
Register the route in server.js:
const userRoutes = require("./routes/user");
app.use("/users", userRoutes);
Creating the Product Service
Repeat the same steps for product-service and define a Product model:
const mongoose = require("mongoose");
const ProductSchema = new mongoose.Schema({
  name: String,
  price: Number,
});
module.exports = mongoose.model("Product", ProductSchema);
Step 3: API Gateway
To manage communication, create an API Gateway service using Express:
mkdir api-gateway && cd api-gateway
npm init -y
npm install express http-proxy-middleware dotenv
Create server.js:
const express = require("express");
const { createProxyMiddleware } = require("http-proxy-middleware");
const app = express();

app.use("/users", createProxyMiddleware({ target: "http://localhost:5000", changeOrigin: true }));
app.use("/products", createProxyMiddleware({ target: "http://localhost:6000", changeOrigin: true }));

app.listen(7000, () => console.log("API Gateway running on port 7000"));
Step 4: Dockerizing the Microservices
Create a Dockerfile in each service:
FROM node:14
WORKDIR /app
COPY package.json .
RUN npm install
COPY . .
CMD ["node", "server.js"]
EXPOSE 5000
Run the services using Docker:
docker build -t user-service .
docker run -p 5000:5000 user-service
Repeat for product-service.
Step 5: Testing the Services
Run the API Gateway:
node api-gateway/server.jsTest the endpoints using Postman:
- Register a user: POST http://localhost:7000/users/register
- Get products: GET http://localhost:7000/products
Conclusion
You have successfully built a Node.js microservices architecture with Express, MongoDB, and Docker. You can extend this by adding authentication, logging, and monitoring.
Happy coding!

